









Installation Guides
Mounting, wiring, pairing and commissioning, product by product, with the clearances and torque values you need on site.
Before you start
Every shade leaves the factory with its limits set and its operation cycle tested against the order. On site the work is mounting, pairing and confirming travel, not configuring motor end limits from scratch.
Installation sequence
Check the opening
Confirm the reveal is square and the measurements match the order confirmation.
Fit the brackets
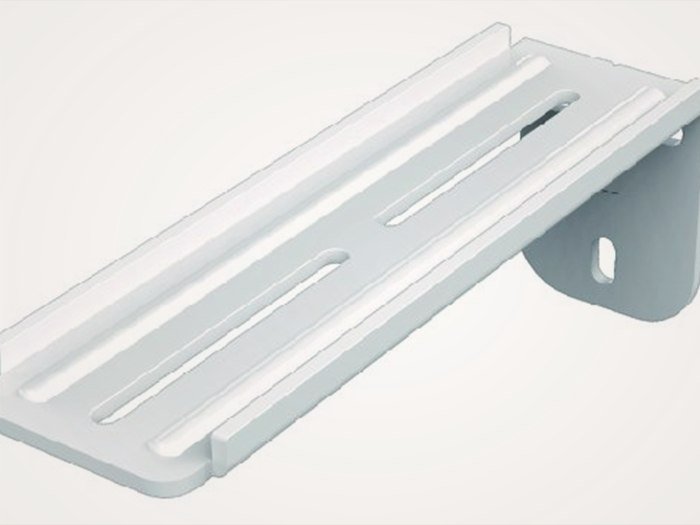
Fix inside, outside or ceiling brackets at the positions in the datasheet.
Mount the shade
Locate the headbox into the brackets and confirm it is fully seated.
Connect the power
Battery and solar plug in directly; hardwired units connect to the supply.
Pair the control
Pair the remote, wall switch or hub, and confirm the channel assignment.
Set and test travel
Adjust the limits if the opening has changed, then cycle the shade twice.
Mounting clearances
Commissioning checklist
- Shade travels fully up and fully down without stalling
- Limits set so the hem bar stops at the required position on every cycle
- Fabric rolls squarely with no telescoping or banding
- Every control method tested: remote, wall switch, app, and any control system
- Groups and scenes confirmed against the schedule
- Battery shades registered and charge level noted on the handover sheet
- Unit schedule signed off and handed to the client or operator
Downloads
Product specific installation sheets, wiring diagrams and commissioning sheets are in the technical downloads library.
Open technical downloads
Need a hand with the details?
Send us the drawings or a photograph of the opening and we will confirm the right approach.